It’s actually quite simple to lengthen or shorten a sewing pattern – I’ll show you how in a minute and it’s really easy. The hard part is figuring out WHERE on the pattern you want to shorten or lengthen.
People sometimes ask me why there aren’t any shorten here/lengthen here lines in MariaDenmark patterns. There are in many other brands.
I have several reasons not to include the lines, but the most important is: Because I can’t say where YOU need to shorten or lengthen a pattern to make it fit YOUR body. I can only tell where to do it, if you sew a muslin or I measure your body.
Because you can be long (or short) several different places on the body. Some women are shorter (or longer) in the torso. Some of these women are shorter in the area from shoulder to bust point, while others have their “short-ness” in the bust to waist area. And some are shorter overall.
Important announcement: MariaDenmark patterns are drafted for an average height of 168 cm (5′ 6″).
I’m 168 cm tall (or short, depending on where I am. I’m rather short here in Denmark, but when I travel, I often find that I’m one of the taller women. I like travelling :-)). But I do understand that it can be very annoying to be taller or shorter than the pattern is drafted for. Especially when the placement of the waist, bust, etc. is important to the finished result.
As it is with the Rachel Wrap Dress. The waist of the dress must, to make the dress fall and sit correctly, be right at your natural waist. And if you are very tall or very short you might also need to adjust the height of the armscye to make the crossing of the front pieces hit in the right spot.
You probably know if you are taller or shorter than the average pattern in general. But do you know WHERE you are shorter or longer?
Figuring that out is the harder part of the job. But the good thing is that you’ll probably only need to work it out once. After that you’ll know where to alter the length of patterns in the future.
Figure out where to lengthen or shorten the sewing pattern
I’m sorry to have to break it to you. But the best way to figure out where you need to shorten or lengthen the pattern is to make a muslin. I know. You don’t want to. But do it anyway…
Good news is: You can cut down on the number of muslins you need by trying on the paper pattern first.
This works best if you have traced the pattern on to tracing paper, but in these pictures we just used the printed pattern. Big thanks to Ann who let me take her picture while we tried the pattern on!
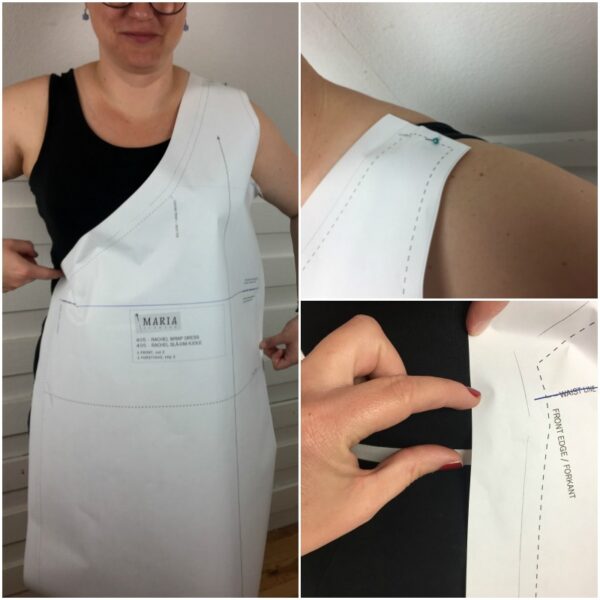
Vi have pinned the front piece in place and drawn in the waist line. This makes it possible for me to asses the waist placement compared to Ann’s natural waist. I also take a look at the armscye depth and find that it could use a tiny bit of length.
Ann’s tall-ness is placed in her upper body. And the extra length seems to be placed partly from shoulder to bust (1 cm) and from bust to waist (3 cm).
Now to alter the sewing pattern for length:
We begin with the front piece
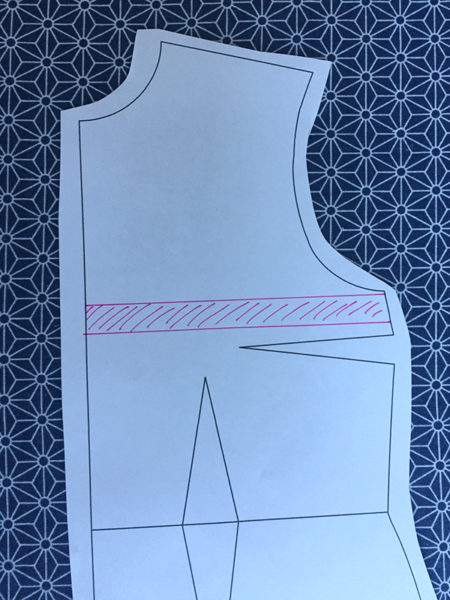
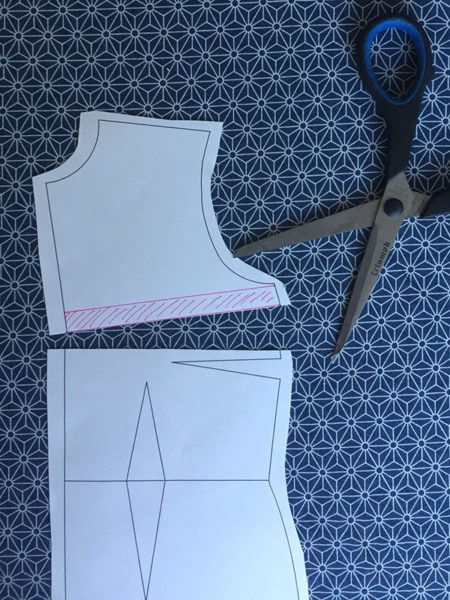
We know that we need to add some length above the waist line. On the Rachel dress it makes more sense to add the length in a place so that the tie-markings don’t change and so that you can draw a nice curve on the front neckline.
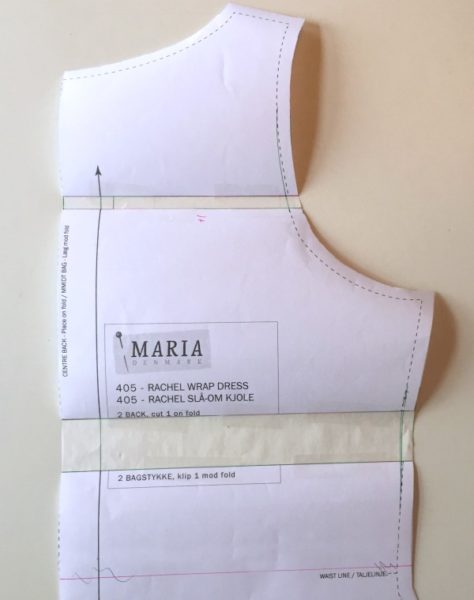
Ann draws a line 6 cm above the waist line and parallel to the waist line, and cut the line.
On a new piece of tracing paper she already drew two parallel lines 3 cm a part.
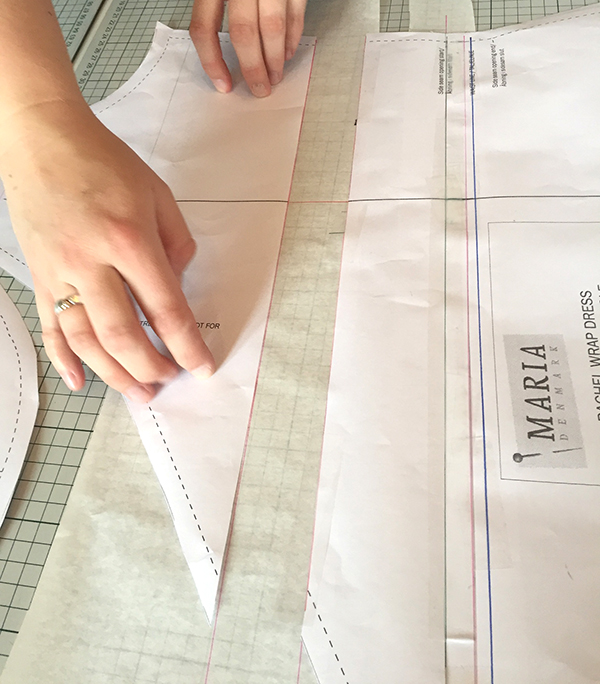
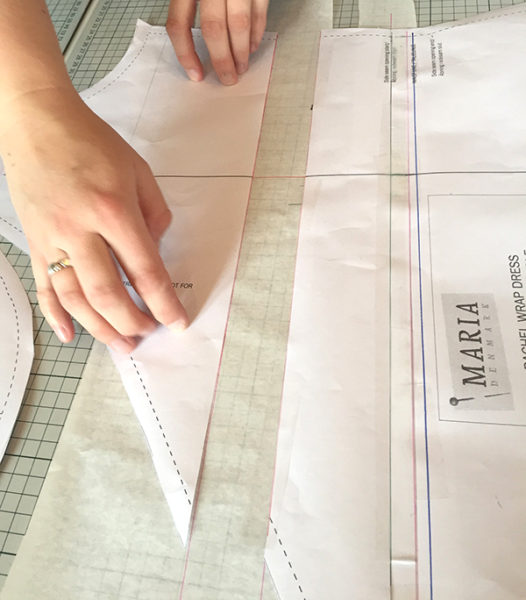
She tapes the bottom part of the front piece to the bottom line and then extends the grain line of the pattern into eh tracing paper. This makes it possible to place the upper part on the front piece on the top line and align the grainlines.
Ann also needs to add 1 cm to the shoulder–>bust area to lengthen the armscye a bit. She places her cut line 8 cm up from the armscye-line and uses the same method as before.
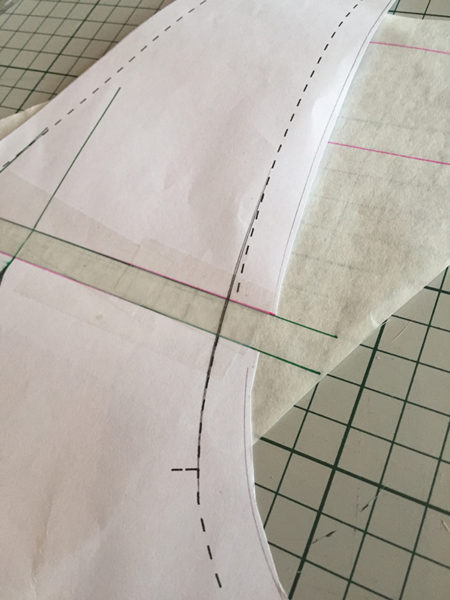
Now she just needs to re-draw the curves to make them nice and even. Use a french curve to make an even curve as a sort of average of the former curves:
Now on to the back piece
Ann must lengthen the back piece in exactly the same way and on the same spots as she did the front.
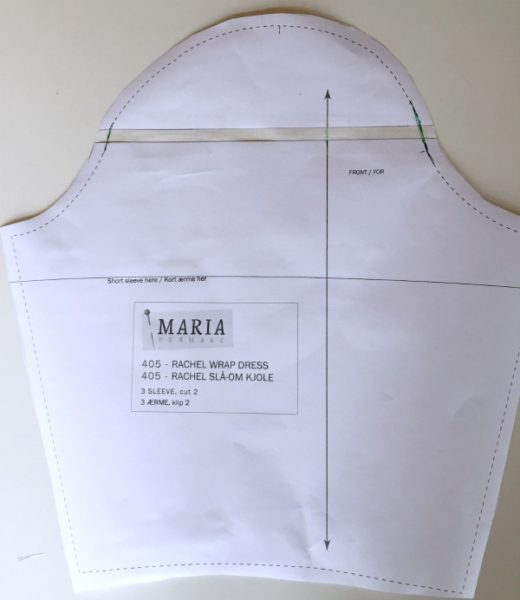
And the sleeve
In this case, where Ann needed to add length to the armscye, she’ll also need to add length to the sleeve cap. She measures 8 cm up the sleeve cap make her 1 cm alteration there.
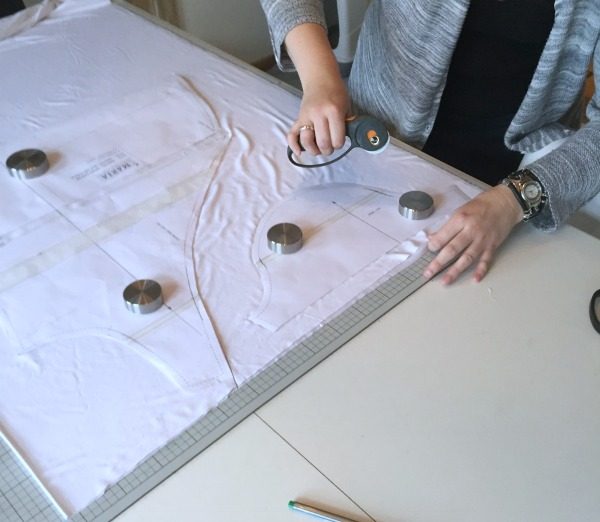
And then she’s ready to cut her first muslin, where she ca determine if she needs to add more or less length, before she cuts the actual fabric for her dress.
But, Maria, what if I’m SHORTER than the pattern – how do I shorten it?
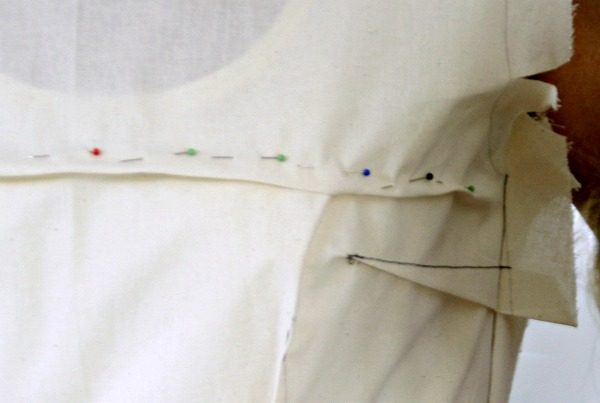
Well, in the same way, only reverse:-) When you are wearing your muslin (or trying on the paper pattern) make a horizontal fold where it is too long. Here I’m showing it on a muslin for another pattern, but it’s the same no matter the pattern.
The area you folded away on the muslin needs to be folded – or cut – away on the pattern as well. And as for the lengthening, we also need to re-draw the curves.
How to shorten the sewing pattern:
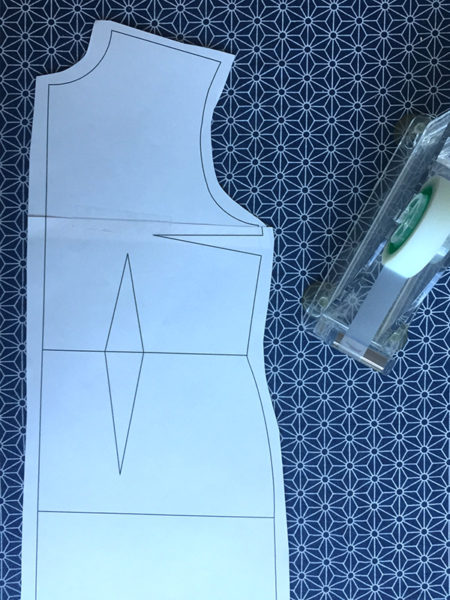
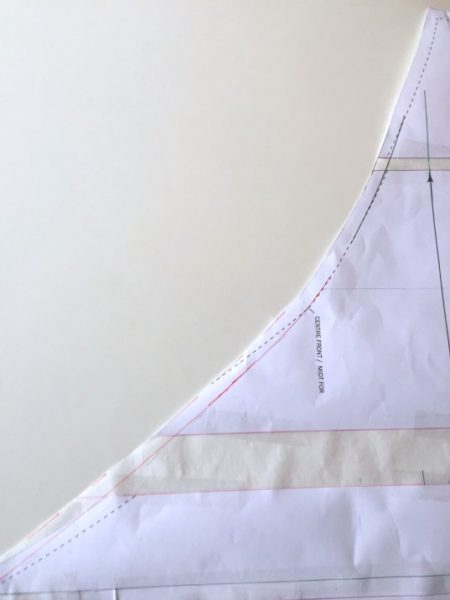
Overlap the pattern piece to remove the marked area. Make sure the grain line (here the centre-front) is absolutely straight. Tape the pieces.
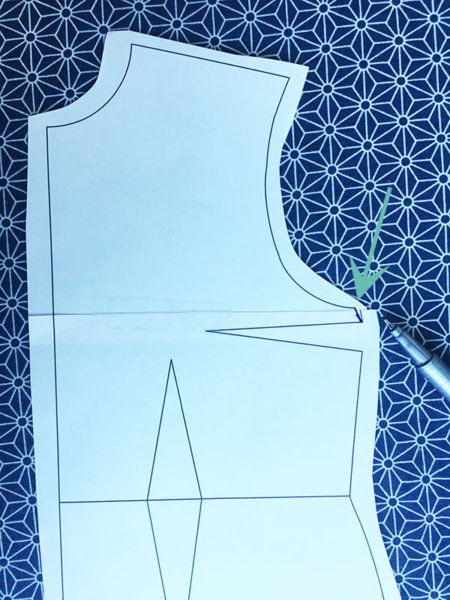
Re-draw the side seam to make it nice and even. Remember to shorten the back piece as well, so that the side seams match.
Remember that you’ll also need to alter the back piece, and – depending on the placement of the fold – on the sleeve.
Do you want to learn more about fitting?
Well, my fitting e-book “Foundations of Fitting” is on SALE right now! :-)



loved the tutorial very informative.